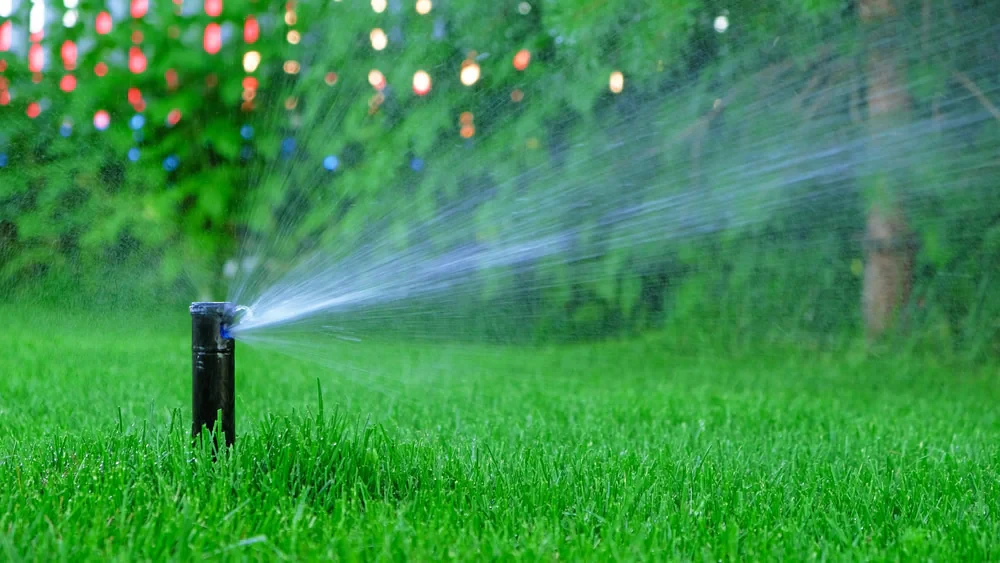
Address leaks in your irrigation system efficiently. Follow our guide for garden and lawn care maintenance in Waco, TX.
Share:

Summary:
Accurate diagnosis is the first step in any irrigation repair. Operate your system zone by zone, carefully observing performance. Key signs of head leaks include water pooling around a specific sprinkler base, continuous dripping after the zone shuts off, or visible damage like cracked casings. Faulty heads might also spray unevenly or like a geyser. Valve issues often manifest differently: look for zones that won’t shut off completely (constant weeping from heads), water bubbling up from the ground near the valve box location, or zones failing to activate. Remember to also inspect the backflow preventer assembly near the water meter for any signs of leaks, as this affects the entire irrigation system. Isolating the issue to a specific zone helps determine if the problem lies with a head in that zone or the valve controlling it.
Gathering the right tools beforehand simplifies the repair process. For typical head and valve work on your irrigation system, assemble a shovel and smaller hand trowel for digging; adjustable channel lock pliers and potentially pipe wrenches for grip; wire cutters/strippers and waterproof connectors for valve wiring; Teflon tape for sealing threads; and the correct replacement parts (heads, nozzles, valve diaphragms/solenoids/kits specific to your model). A small bucket for water removal and rags are helpful. Always use work gloves and safety glasses. If repairing a soaker hose, have a compatible repair kit.
With the faulty head identified and tools ready, begin the repair. First, shut off water to the affected zone or the main irrigation supply. Carefully excavate around the head to expose its base and the fitting below (riser or swing pipe). Before removing the entire head, check if simply tightening the cap or replacing a damaged nozzle or seal fixes the leak. If the body or fitting connection is the issue, grip the head base and unscrew it from the fitting. Clean any old tape and dirt from the fitting’s threads, checking the fitting itself for cracks. Apply fresh Teflon tape to the male threads of the fitting. Select a replacement head matching the type, height, and nozzle requirements for proper watering coverage. Screw the new head onto the fitting (hand-tight plus a bit more, avoiding overtightening). If applicable, flush the line briefly by turning the water on before installing the nozzle to clear debris. Install the nozzle. Slowly turn the water back on, checking for leaks at the connection. Backfill the soil carefully, confirming the head top is level with the ground, and adjust the spray pattern as needed for good lawn care.
Want live answers?
Connect with a Huaco Landscape & Irrigation expert for fast, friendly support.
Valve leaks often occur underground within the valve box and usually involve worn internal parts or debris. Start by shutting off the main water supply to the irrigation system. Locate and open the valve box, cleaning out any dirt or water. Identify the problematic valve. Common leak causes include a worn diaphragm (the internal rubber seal), debris obstructing the diaphragm, a faulty solenoid (the electrical component), or cracks in the valve body. To address diaphragm issues, carefully remove the screws or jar top holding the valve’s upper housing. Note the orientation of internal parts (like springs) as you lift the top off. Inspect the diaphragm for tears or debris; clean it and its seat, or replace it with the correct part from a model-specific repair kit. Reassemble carefully, tightening screws evenly or securing the jar top. For electrical issues (valve won’t open/close), check the solenoid’s wire connections for corrosion, remaking them with waterproof connectors if needed. You can also unscrew the solenoid to inspect its O-ring seal or replace the solenoid entirely if it’s faulty. After any repair, slowly turn the main water back on and check thoroughly for leaks before closing the valve box. Proper valve function is vital for the entire water system.
Regular maintenance helps minimize irrigation leaks and sustain performance for your garden and landscaping. Periodically walk your property while the system runs, visually inspecting for leaks, uneven watering, or damaged heads. Keep sprinkler heads clear of obstructions like overgrown grass or mulch. Clean head filter screens and any main system filters as needed to prevent debris from reaching internal components. Proper winterization (draining the system) is pivotal in areas prone to freezes to protect pipes, heads, valves, and the backflow preventer from ice damage. Conversely, perform a thorough spring start-up check, looking for leaks and adjusting heads. Check that your water pressure isn’t excessively high, as this stresses the entire irrigation system; consider a pressure regulator if needed. Using better quality replacement parts during repairs can also contribute to longer system life and fewer issues.
While many head and valve fixes are manageable, certain irrigation problems benefit from professional intervention. Consider calling for help if you suspect underground pipe leaks, face complex electrical issues with controllers or wiring, are unsure about the cause of a problem, or lack the time or tools for a safe repair. Persistent issues despite DIY attempts, they also warrant professional diagnosis. For residents in Waco, TX, Huaco Landscape & Irrigation provides professional irrigation services. Their technicians can handle challenging diagnostics and repairs; therefore, your water system supports your garden and landscaping needs effectively.
In summary, addressing sprinkler head and valve leaks promptly is vital for efficient watering, water conservation, and healthy lawn care. Identifying the leak source, using the right tools, and carefully performing repairs can resolve many common irrigation issues. Furthermore, consistent preventative maintenance helps minimize future problems, protecting your landscaping investment. A properly functioning irrigation system is key to a thriving garden in Waco, TX. When repairs seem too complex or problems persist, professional assistance is readily available. Contact Huaco Landscape & Irrigation for expert irrigation service and support.
Article details:
Share: